DIY Packaging Testing at Home
Professional packaging testing can be expensive and time-consuming, but you don’t need a laboratory to evaluate your packaging’s effectiveness. Simple DIY testing methods can reveal crucial information about your packaging’s performance, helping you optimize protection while controlling costs. These home-based tests provide valuable insights that can prevent costly product damage and customer dissatisfaction.
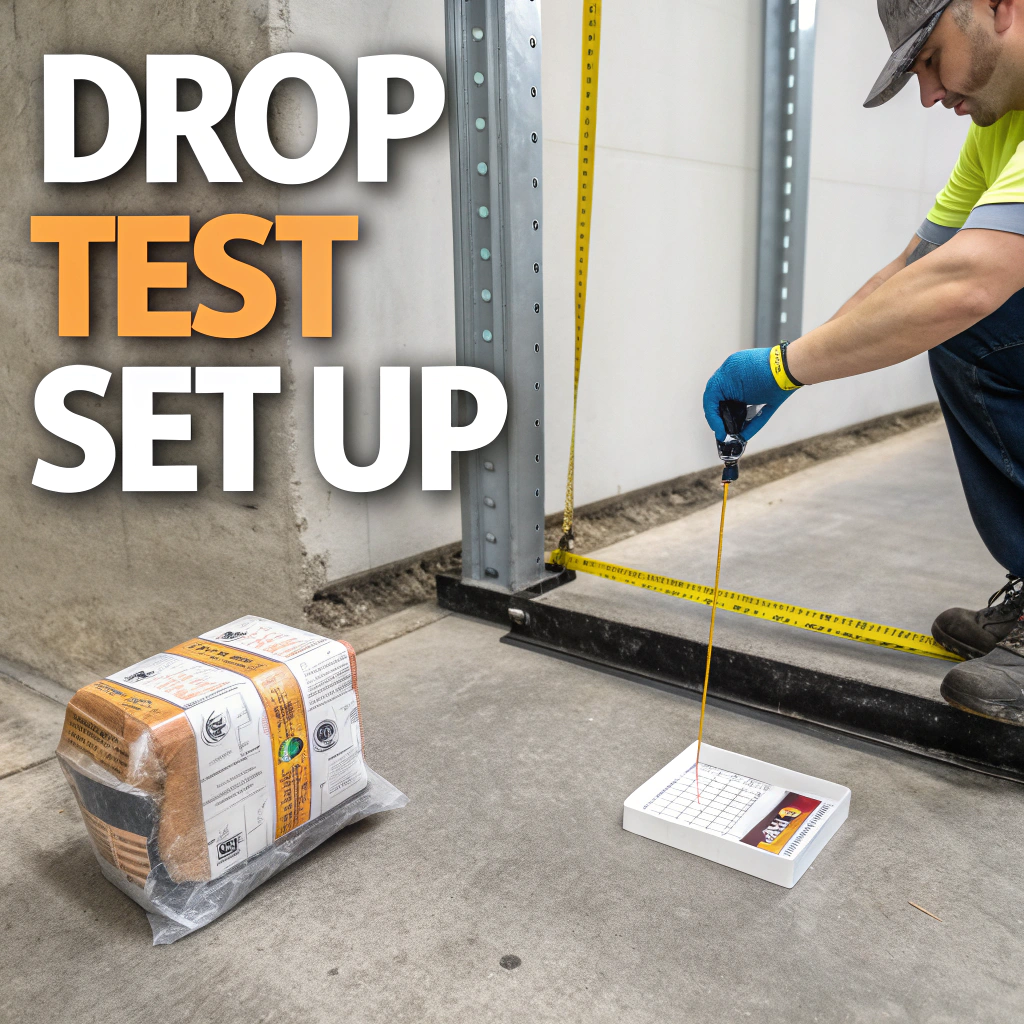
Drop testing simulates real-world shipping conditions using simple household tools and measured heights
Essential DIY Testing Equipment
You don’t need expensive equipment to conduct meaningful packaging tests. Basic household items can simulate many shipping and handling conditions. Gather measuring tape, a scale, various weights, a stopwatch, and a camera to document results. A concrete floor or driveway provides an ideal testing surface for impact tests.
Create a dedicated testing space where you can safely conduct experiments without damaging your surroundings. Good lighting and clear documentation will help you analyze results and make informed decisions about packaging improvements.
Drop Testing: Simulating Real-World Impacts
Drop testing reveals how your packaging responds to impacts during shipping and handling. Start with a standard drop height of 30 inches, which simulates typical handling drops. Package your product as you would for shipping, then drop it from the measured height onto a hard surface.
Test multiple orientations – corners, edges, and flat surfaces all experience different stresses. Drop the same package several times to simulate multiple handling events. Document any visible damage to both packaging and contents. Gradually increase drop heights to find your packaging’s failure point.
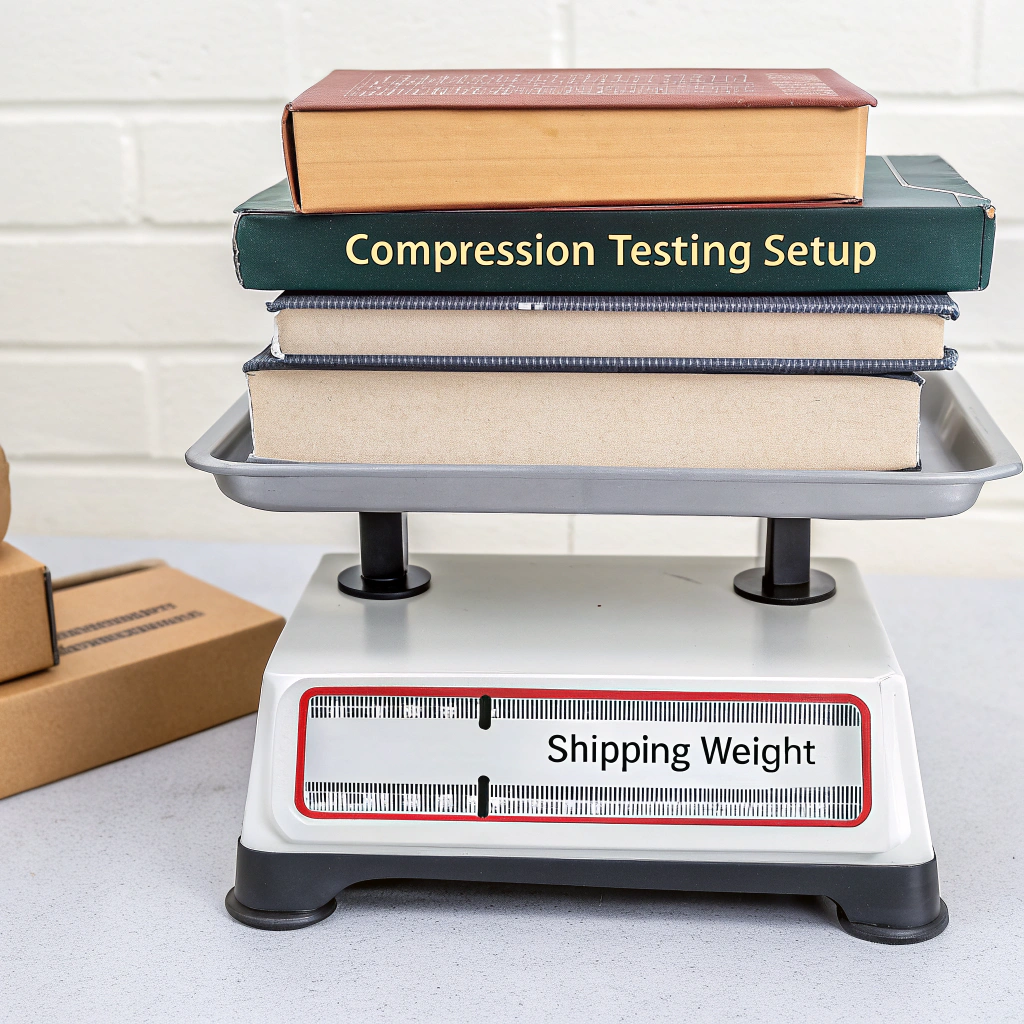
Stack testing uses common household items to simulate the compression forces packages experience during shipping
Compression Testing: Stack Simulation
Packages often support significant weight during shipping and storage. Simulate this by placing weights on top of your packaged product. Use books, water jugs, or other household items to create measured loads. Start with weights equivalent to 2-3 similar packages, then gradually increase.
Monitor your package for 24 hours under load, checking for crushing, bulging, or other deformation. This test reveals whether your packaging can withstand warehouse stacking without compromising contents. Document how much weight causes noticeable deformation or failure.
Environmental Testing: Temperature and Humidity
Environmental conditions significantly impact packaging performance. Test temperature sensitivity by placing packaged products in your refrigerator, freezer, or a warm attic space. Monitor for condensation, material brittleness, or adhesive failure.
Humidity testing can be conducted using a bathroom after hot showers or by placing packages in sealed containers with damp towels. These tests reveal whether your packaging maintains integrity under varying environmental conditions.
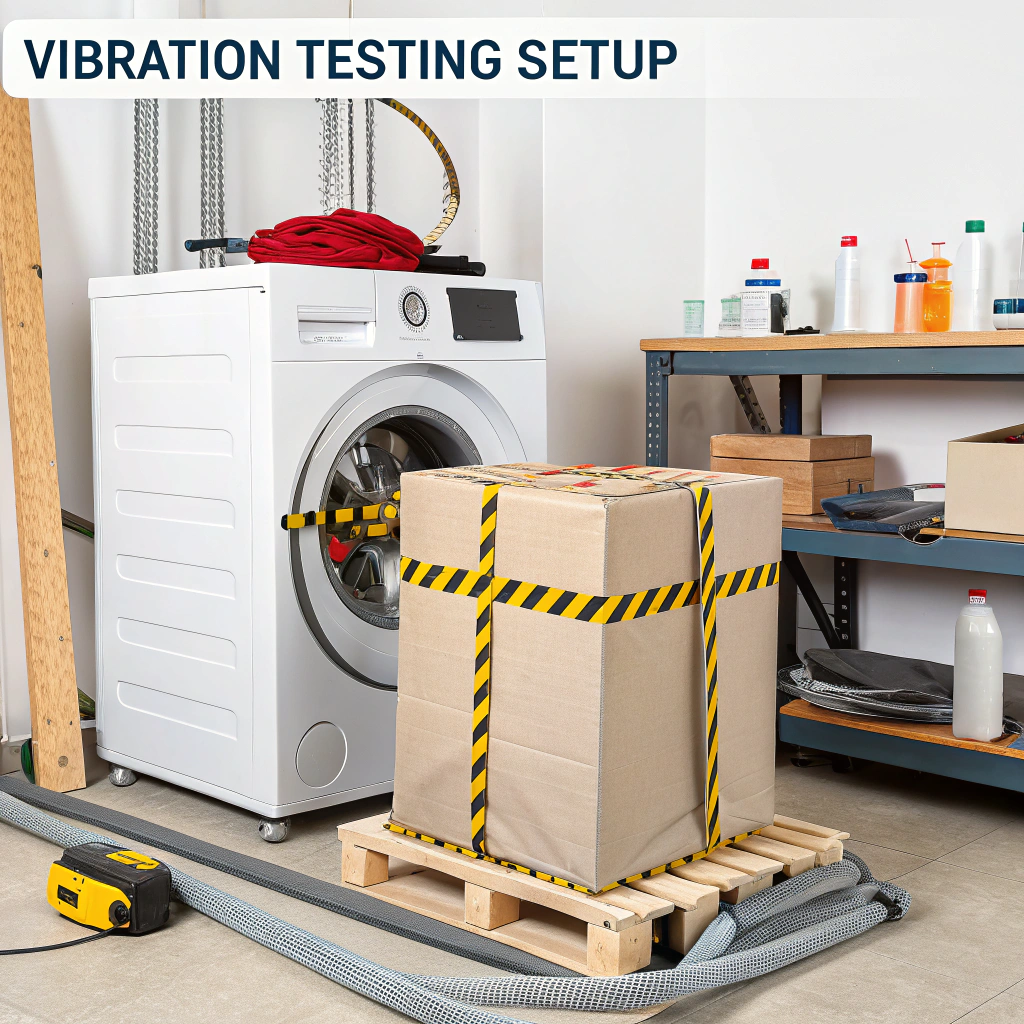
Creative vibration testing uses household appliances to simulate transportation vibrations and movement
Vibration and Movement Testing
Transportation subjects packages to constant vibration and movement. Simulate this by securing packages to appliances during operation. A washing machine’s spin cycle provides excellent vibration testing, while a dryer (without heat) can simulate tumbling motion.
Monitor packages during and after testing for loose contents, torn seals, or structural damage. This testing reveals whether your packaging prevents product movement and maintains integrity during extended transportation.
Water Resistance Testing
Test your packaging’s water resistance by lightly spraying with water or exposing to high humidity. This simulates rain, snow, or humid storage conditions. Pay attention to how quickly water penetrates packaging and whether it reaches contents.
For products requiring water protection, consider submersion testing in shallow water. Time how long packaging remains waterproof and note any failure points. This information helps you improve sealing or choose better materials.
Documentation and Analysis
Photograph and document all testing procedures and results. Create a simple testing log recording dates, conditions, and outcomes. This documentation helps you track improvements and communicate results to suppliers or customers.
Compare results across different packaging options to identify the most effective solutions. Consider both protection level and cost when analyzing results. Sometimes slightly more expensive packaging prevents costly damage claims and returns.
Interpreting Results and Making Improvements
Use testing results to refine your packaging strategy. If packages fail drop tests, consider additional cushioning or stronger materials. Compression failures might require structural reinforcement or different box designs.
Don’t aim for perfection – aim for appropriate protection levels that balance cost and performance. Over-engineering packaging wastes money and materials, while under-protection risks product damage and customer dissatisfaction.
When to Seek Professional Testing
While DIY testing provides valuable insights, professional testing may be necessary for high-value products, regulatory compliance, or detailed analysis. Use DIY results to guide professional testing decisions and reduce overall testing costs.
DIY testing empowers small businesses to optimize packaging without significant investment, leading to better protection, lower costs, and improved customer satisfaction.